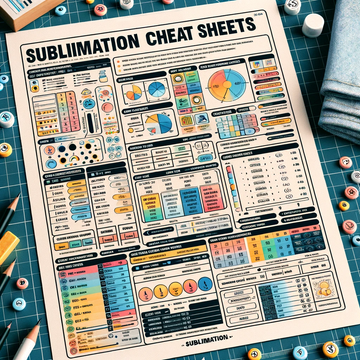
Unraveling the Magic of Sublimation: A Beginner's Guide
Hey there, curious reader! 🌟 Ever wondered how those vibrant and intricate designs find their way onto mugs, t-shirts, and phone cases? The answer: Sublimation. In today's post, we're diving deep into the world of sublimation and providing a straightforward guide for all you beginners out there. Let's get started!
What is Sublimation? Sublimation is a printing method that involves transferring a design from special paper onto a product using heat. Instead of traditional ink sitting on the surface, sublimation ink becomes a gas when heated and bonds with the product's fibers. The result? A permanent, high-resolution print that won't fade, peel, or crack.
Step-by-Step Guide to Sublimation
Design Creation: The Art Before the Print
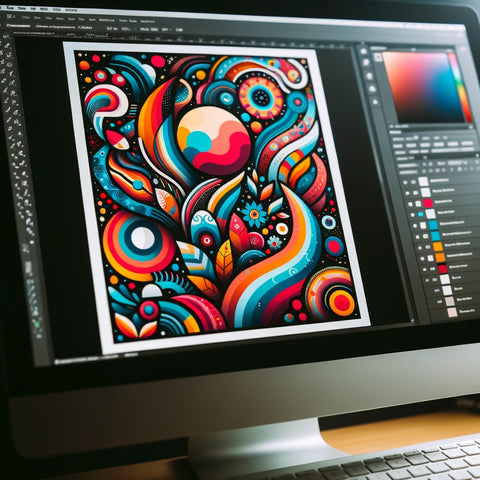
Kick things off by crafting a design on graphic software. Think bold, colorful, and unique!
- Choosing the Right Software:
- Adobe Illustrator: Perfect for vector designs, this software is known for its precision and vast toolset. It's especially great for designs that might need to be resized, ensuring no loss in quality.
- CorelDraw: Another excellent option for vector graphics, CorelDraw is user-friendly and offers a range of tools tailored for graphic design.
- Adobe Photoshop: If your design is more photo-based or requires intricate details, Photoshop is your go-to. It's best suited for raster images.
- GIMP: For those looking for a free alternative, GIMP provides a comprehensive toolkit for both vector and raster graphics.
- Design Tips:
- Resolution Matters: For sublimation, it's recommended to have a resolution of at least 300 dpi. This ensures your design remains sharp and clear during the printing process.
- Color Considerations: Remember that colors on your screen might look slightly different when printed. Consider using a color calibration tool or printing a test sample.
- Mind the Margins: Always leave a small border around your design. This ensures it fits perfectly on the product and doesn't get cut off.
- Design Tricks:
- Layering: Using layers can help organize different design elements, making it easier to edit or rearrange.
- Use Templates: Many sublimation suppliers offer templates for their products. This can be a great starting point and ensures your design fits perfectly.
- Vectorize When Possible: Vector images can be resized without losing quality, which is especially useful if you're designing for various products.
Crafting a design requires a mix of creativity and technical know-how. But with the right tools and some practice, you'll create designs that are beautiful and optimized for the sublimation process. Remember, the design is where your product's journey begins, so make it count! 🎨🌟
Printing the Design: Laying the Foundation for Brilliance
The printing stage is where your digital design transforms into a tangible masterpiece. It's a pivotal step, and your choices directly influence the final product's quality. Let’s delve deeper into the world of printing for sublimation:
- Choosing the Right Sublimation Printer:
- Epson EcoTank Series: A game-changer in the world of sublimation, the EcoTank offers cartridge-free printing with large ink tanks. Known for its cost-effectiveness and reliable quality, it's an excellent choice for those venturing into sublimation or even established enthusiasts.
- Sawgrass Printers: A staple in the sublimation industry, the Sawgrass range, including the popular Virtuoso SG500 and SG1000, stands out for its precision and vibrant color output. Tailored specifically for sublimation, they offer consistent results and are perfect for various projects, from mugs to apparel.
When deciding between the two, consider your primary needs: volume of printing, range of products you'll be working on, and budget. Both brands are trusted in the sublimation community and offer a blend of quality and reliability.
- Selecting Sublimation Paper:
- A-SUB Sublimation Paper: Renowned for its quick-drying capabilities and high ink absorption rate.
- Koala Sublimation Paper: Known for its consistency and ability to produce sharp images.
- TexPrint R Sublimation Paper: A top choice for textile applications, this paper ensures a smooth transfer with minimal ink wastage.
- Printing Tips:
- Mirror Your Image: Before printing, always mirror (or flip) your design. This ensures that the image appears correctly on the product when it's transferred.
- Printer Settings: Always check that your printer is set to the sublimation mode or the highest quality setting available.
- Regular Maintenance: Regularly clean your printer’s nozzles and head to ensure consistent print quality.
- Printing Tricks:
- Test Prints: Before doing a full print run, always do a test print on regular paper. This helps catch any design issues or printer errors.
- Stay Updated: Printer software updates can offer improved color profiles and functionality. Regularly check for updates from the manufacturer.
- Storage: Store your sublimation paper in a cool, dry place to prevent it from absorbing moisture, which can affect print quality.
Getting the printing right is half the battle in sublimation. With the right equipment, quality paper, and a keen eye for detail, you'll be on your way to producing fantastic items that stand the test of time. 🖨️🌈

Prepping the Product: Setting the Stage for Sublimation Success
Before the magic of sublimation comes into play, ensuring your products are well-prepped is crucial. This step ensures a seamless transfer and a vibrant end result. Let's delve into the specifics of prepping different sublimation items:
- Tumblers:
- Clean Thoroughly: Before starting, ensure the tumbler is free from fingerprints, dust, or residues. Using isopropyl alcohol can be effective.
- Tape it Up: Secure your design around the tumbler using heat-resistant tape, ensuring no wrinkles or bubbles.
- Shirts:
- Choose the Right Fabric: Sublimation works best on polyester or polyester-blend shirts. The higher the polyester content, the more vibrant the result.
- Pre-wash: Washing the shirt can remove any residues or sizing agents hindering the sublimation process.
- Iron or Press: Iron out any wrinkles or use a heat press to pre-press the shirt for a few seconds to ensure a smooth surface.
- Other Items (like mouse pads, coasters, etc.):
- Surface Check: Ensure the item's surface is smooth, clean, and free from defects or particles.
- Alignment: Ensure your design fits the product's shape and size. Trim any excess paper to avoid unwanted ink transfer.
- Secure the Design: Depending on the item, use heat-resistant tape or adhesive sprays to secure the design in place, preventing it from shifting during pressing.
Tips & Tricks:
- Lint Roller: Especially for apparel, using a lint roller before pressing can help remove stray fibers or particles.
- Temperature and Time: Each product type might require a slightly different heat and time setting. Always refer to manufacturer guidelines or do test runs.
- Avoid Overlap: When working with items like tumblers, ensure the design doesn't overlap, as this can lead to uneven or over-saturated areas.
- Cool Down: After sublimation, allow products like metal or ceramic to cool naturally. Rapid cooling can affect the design's quality.
Proper preparation is half the battle in achieving impeccable sublimation results. Taking the time to prep each item ensures your designs look their best every single time. 🌟🎨

Transfer Time: Nailing the Perfect Press
Sublimation is a science as much as it's an art. Getting the temperature, time, and pressure right is crucial for a flawless transfer. Here's a breakdown of common sublimation items:
- Tumblers:
- Temperature: Typically, 375°F (190°C) is the sweet spot.
- Time: Around 5-7 minutes, depending on the tumbler's material and size.
- Pressure: Medium to high, ensuring the transfer sheet has full contact with the curved surface.
- Mugs:
- Temperature: Aim for 400°F (205°C).
- Time: About 3-4 minutes should do the trick.
- Pressure: Medium pressure is usually sufficient for mugs. If using a mug press, ensure it's tight enough to ensure even contact.
- Shirts:
- Temperature: 385°F (196°C) is a good starting point.
- Time: Press for about 45 seconds to a minute.
- Pressure: Medium pressure to ensure the design transfers evenly without scorching the fabric.
- Other Items:
- Temperature: Around 380-400°F (193-205°C), but always check product guidelines.
- Time: Typically, 60-90 seconds, but adjust based on the item's material and thickness.
- Pressure: Medium to high, ensuring a seamless transfer.
Tips & Tricks for Using the Heat Press:
- Pre-press: Pre-press the item for a few seconds before placing your design. This removes moisture and any wrinkles, ensuring a smoother transfer.
- Protective Paper: Place a sheet of protective paper above and below your design to prevent ink bleeding or unwanted transfers.
- Alignment: Ensure your design is centered and straight. For items like shirts, the collar should be off the edge of the press to ensure even pressure.
- Test Press: Always do a test press with a new material or product type. It helps you calibrate the correct settings and avoid mistakes.
- Watch for Over-pressing: Pressing for too long or with too much pressure can make designs look faded or burnt. Always follow guidelines and adjust as necessary.
Remember, while these are standard guidelines, always refer to the manufacturer's instructions for your specific heat press and products. With attention to detail and practice, you'll achieve sublimation perfection in no time! 🌡️🎨👌

Cool & Reveal: The Big Unveiling
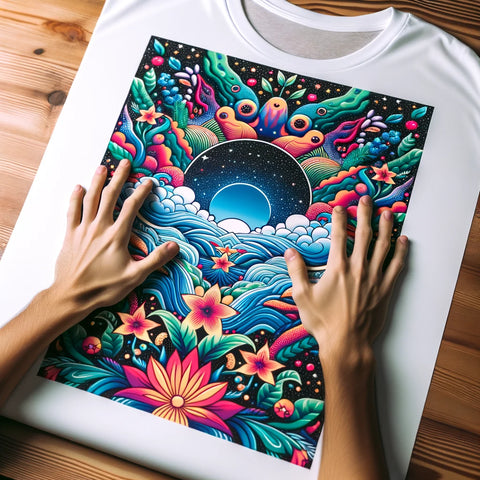
After the heat and pressure, it's time for the big reveal! But patience is key – ensuring your items cool correctly is as essential as the sublimation process itself.
- Tumblers:
- Cooling Time: Allow tumblers to cool for about 10-15 minutes. Using heat-resistant gloves, you can transfer them to a cool, flat surface to expedite the process.
- Mugs:
- Cooling Time: Mugs should be given 5-10 minutes to cool. Ceramic retains heat, so handle with care and avoid placing on sensitive surfaces immediately.
- Shirts:
- Cooling Time: Shirts cool relatively quickly. Spread them out flat for about 2-3 minutes, ensuring they retain their shape.
- Other Items:
- Cooling Time: Depending on the material, other items can take anywhere from 5-15 minutes. It's essential to let them cool naturally to avoid any distortions or issues with the design.
Care Instructions for Sublimated Items:
- Washing: For sublimated fabrics, turn them inside out and use cold water with a gentle cycle. Avoid using bleach or fabric softeners.
- Drying: Air-drying is recommended for sublimated items. If using a dryer, opt for a low heat setting.
- Handling: For items like mugs and tumblers, hand-wash with mild detergent to prolong the life of the design. Avoid abrasive scrubbers.
- Storage: Store sublimated items away from direct sunlight, which can cause colors to fade over time.
Tips & Tricks:
- Peeling: When removing the transfer paper from items, peel it while it's still warm (but not hot) to the touch. This ensures a cleaner and more defined design.
- Avoid Water: Don't rush the cooling process by using water, especially for items like mugs and tumblers. Rapid temperature changes can damage the design.
- Consistent Care: While sublimation designs are durable, treating them with care will ensure they remain vibrant and clear for years to come.
The cooling and care stages might seem simple, but they play a pivotal role in the longevity and appearance of your sublimated items. With these guidelines in hand, you'll ensure every piece you create looks stunning and stands the test of time. Happy unveiling and caring! 🌟🎨👕🍵

Final Tips & Tricks for Your Sublimation Success:
- Stay Updated: The world of sublimation is ever-evolving. Regularly check for updates on software, printer technology, and new techniques to stay ahead of the curve.
- Mix & Match: Be bold and experiment! Combine different materials, designs, and products to create unique masterpieces.
- Safety First: Always use heat-resistant gloves and safety goggles, especially when working with the heat press.
- Join a Community: Connect with other sublimation enthusiasts online or in local groups. Sharing experiences and learning from others can be invaluable.
- Learn from Mistakes: Not every project will be perfect, especially when starting. Embrace mistakes as learning opportunities and keep refining your craft.
Words of Encouragement:
Embarking on your sublimation journey might seem daunting, but remember, every artist begins with a blank canvas. With each design you create and each item you transform, you'll gain skills and the joy of seeing your vision come to life. Your creativity has no bounds, and the world of sublimation is the perfect playground to unleash it!
Visit Us, We're Here to Help!:
Feeling overwhelmed or need some hands-on assistance? Don't hesitate to drop by our store! Whether you want to use our top-notch printers and heat presses or need some guidance, our team is always eager to help. Your success is our joy, and we're here to support you every step of the way. Let's create magic together!
Happy sublimating, and remember – we've got your back at every step! 🌟🎨🤗

